SSO With OneLogin (OIDC)
Last modified on September 17, 2024
Overview
This guide provides step-by-step instructions to configure single sign-on (SSO) with OneLogin V2. You already use OneLogin to conveniently manage permissions to applications. After SSO configuration is complete, you can also use your SSO provider to manage permissions to your data sources.
Prerequisites
To get started, make sure the following conditions are met:
- In OneLogin, you must be an administrator with the ability to manage application settings.
- In StrongDM, your permission level must be set to Administrator.
- Ensure you have a unique identifier for users. Only email address is currently supported.
Steps
Create the OneLogin app
- In the OneLogin Admin portal, click Applications > Add App to create a new application.
- Search for StrongDM and select the option that has OpenID Connect2.0 , provisioning in the description. Enter a name for the application and click Save.
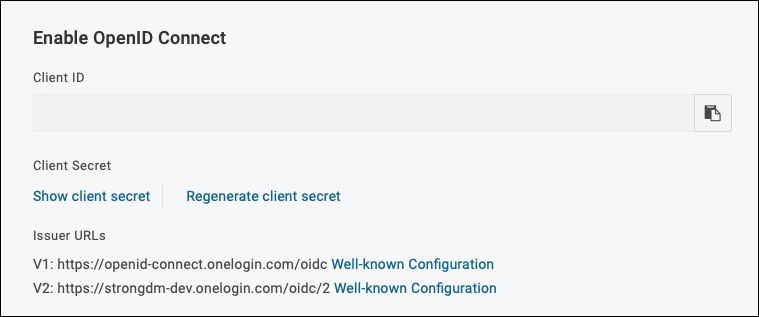
- Go to the SSO tab and copy the Client ID and Client Secret. You need these values later.

Get Client ID and Client Secret - On the SSO tab under Token Endpoint, set the Authentication Method to POST and save the configuration.
- From the main OneLogin menu, navigate to Users. Each user that should access the StrongDM Admin UI must be assigned access to your StrongDM app. This can be accomplished by assigning the app to a specific role or directly to a certain user. If assigning the app to a role, make sure the user is also given the role.
Configure StrongDM
Enter the account details in the StrongDM Admin UI. Go to Settings > User Management. In the Single Sign-on section, set the following:
- Provider: Select OneLogin (OIDC).
- Single sign-on URL: Enter your Issuer URL (
https://<SUBDOMAIN>.onelogin.com/oidc/2). - Client ID: Paste your client ID.
- Client Secret: Paste your client secret.
Select your desired general SSO settings and click activate.
Confirm that the email addresses for all users are identical in both StrongDM and OneLogin. Also check that all users you intend to grant database access have access to the StrongDM application by default.
Once you have saved the application configuration in OneLogin, it may take some time for the changes to be reflected in the OneLogin authentication environment. We recommend waiting at least several hours before enabling and testing OneLogin SSO in StrongDM after you have completed the setup.